
We may earn a commission if you buy through our links, at no extra cost to you.
A hydration pack is not the starting point for every ride. Start with the water, layers, food, and repair gear you need to carry, then decide whether bottles, a pack, or a combination makes sense. Choose the carry system first; compare pack capacity and fit second.
Pack, bottles, or both?
Use bottles when your frame carries what you need and your refill plan is reliable. Consider a pack when bottle space is limited, frame bags occupy that space, or layers and repair supplies need another home. A mixed setup is worth considering when bottles handle normal drinking but the route calls for reserve water or extra storage.
Do not choose a reservoir from ride duration alone. Plan around your own needs on comparable rides, weather, effort, reliable refills, and possible delays—not a universal liters-per-hour promise.
How I choose for my rides
For a typical 1-to-1.5-hour ride on Vail Mountain, I usually carry one 22-ounce bottle. If the ride goes longer and there is nowhere to replenish it, I carry a second bottle—on the bike when it has two bottle cages, or in my Osprey Savu hip pack. For gravel rides of 30 miles or more, I carry a hydration pack.
That is my current approach, not a universal hydration formula or an endorsement of a particular pack model.
My Osprey Savu fits well against my back and stays put. I can carry a 22-ounce bottle without noticing the weight, and the two zippered areas have room for my keys, phone and snacks. I’ve also stuffed a Patagonia Houdini jacket into the pack.
Match the carry system to the load
- Bottles and on-bike storage: Start here when your cages hold the water you need between reliable refills. A saddle or frame bag can take tools and spares off your body. Check bottle access with the bags fitted, and keep bags and straps clear of tires, suspension and moving parts.
- Bottle-carry hip pack: Consider one when a second bottle will not fit on the bike and you need only a few essentials. Check that your actual bottle fits securely; a pocket count is not a water-capacity specification.
- Reservoir hip pack: Consider one when you want a drinking hose and compact tool storage without shoulder straps. Water and cargo still have to fit together, and the load sits around your waist. Try the full setup before deciding it is preferable to a backpack.
- Hydration backpack: Move up when water, layers, food and repair gear exceed what your bike and a small hip pack can sensibly carry. A long route is a reason to assess the load, not an automatic instruction to buy the biggest reservoir.
Skip a body-worn pack when bottles and on-bike storage already solve the problem. You can also split the load: bottles on the frame, tools on the bike, and a hip pack for the remaining essentials.
Two hip packs worth considering
Osprey Savu 2: for bottle carry rather than a reservoir
Osprey’s current Savu 2 listing describes stretch-mesh pockets for single or double bottle carry, a compact main compartment with internal organization, a front zip pocket and an AirScape backpanel. Bottles are not included.[6] Consider this layout if your bike is short on bottle space but you do not need a backpack for bulky layers.
Check the exact version before buying: the linked model has the single-or-double-bottle layout, and older Savu listings should not be assumed to have the same pockets. Bring the bottles you intend to use and check retention, access and belt fit with tools loaded. Skip it if you want a reservoir-and-hose setup or if a full load shifts or presses uncomfortably at your waist. This is a bottle-carry option, not a substitute for planning enough water.
View Osprey’s Savu 2 bottle-carry layout.[6]
EVOC HIP PACK PRO 3: for a hose and organized tools
EVOC’s named “HIP PACK PRO 3 + HYDRATION BLADDER 1,5” bundle lists 3 L of pack volume and includes a 1.5 L bladder. It also has a bottle holder, an externally accessible tool compartment and zippered hip-wing pockets.[7] Consider it when you want to drink through a hose while keeping a compact load at your waist. Do not interpret the 3 L label as guaranteed empty cargo space alongside a full bladder.
Buying the bundle matters: the US product page offers both “Not Included” and “Includes 1.5L Bladder” selections.[8] Check the selected option rather than relying on the product photo. Skip it if your required water and kit will not fit without overstuffing, or if the loaded belt is uncomfortable. A bottle on the bike can supplement the reservoir; it does not make the pack’s cargo compartment larger.
Compare EVOC’s US bladder options.[8] Check the bundle with the 1.5 L bladder at Competitive Cyclist.
Try a hip pack with the load you will actually ride
Fill the bottles or reservoir, add your usual tools and food, and lean into your riding position. Check for pressure at your waist, interference with pedaling, and movement when you bend or stand. Make sure you can reach the bottle or hose without fighting the belt; stop to drink if reaching for it would compromise control. If tightening the belt enough to stop movement makes it uncomfortable, try another fit or move some of the load onto the bike.
Backpack comparison
| Pack and use case | Manufacturer-listed pack volume | Included water capacity | Fit and buying check |
|---|---|---|---|
| Osprey Raptor 14 Tools and layers for a substantial day ride | 14 L; not a guarantee of 14 L free cargo space with water loaded[1] | 2.5 L LT in the S25 feature list; the same page also says 1.5 L in its reservoir summary. Confirm the supplied reservoir with the seller.[1] | Men’s fit, one size; winged harness and wrap hipbelt[1] |
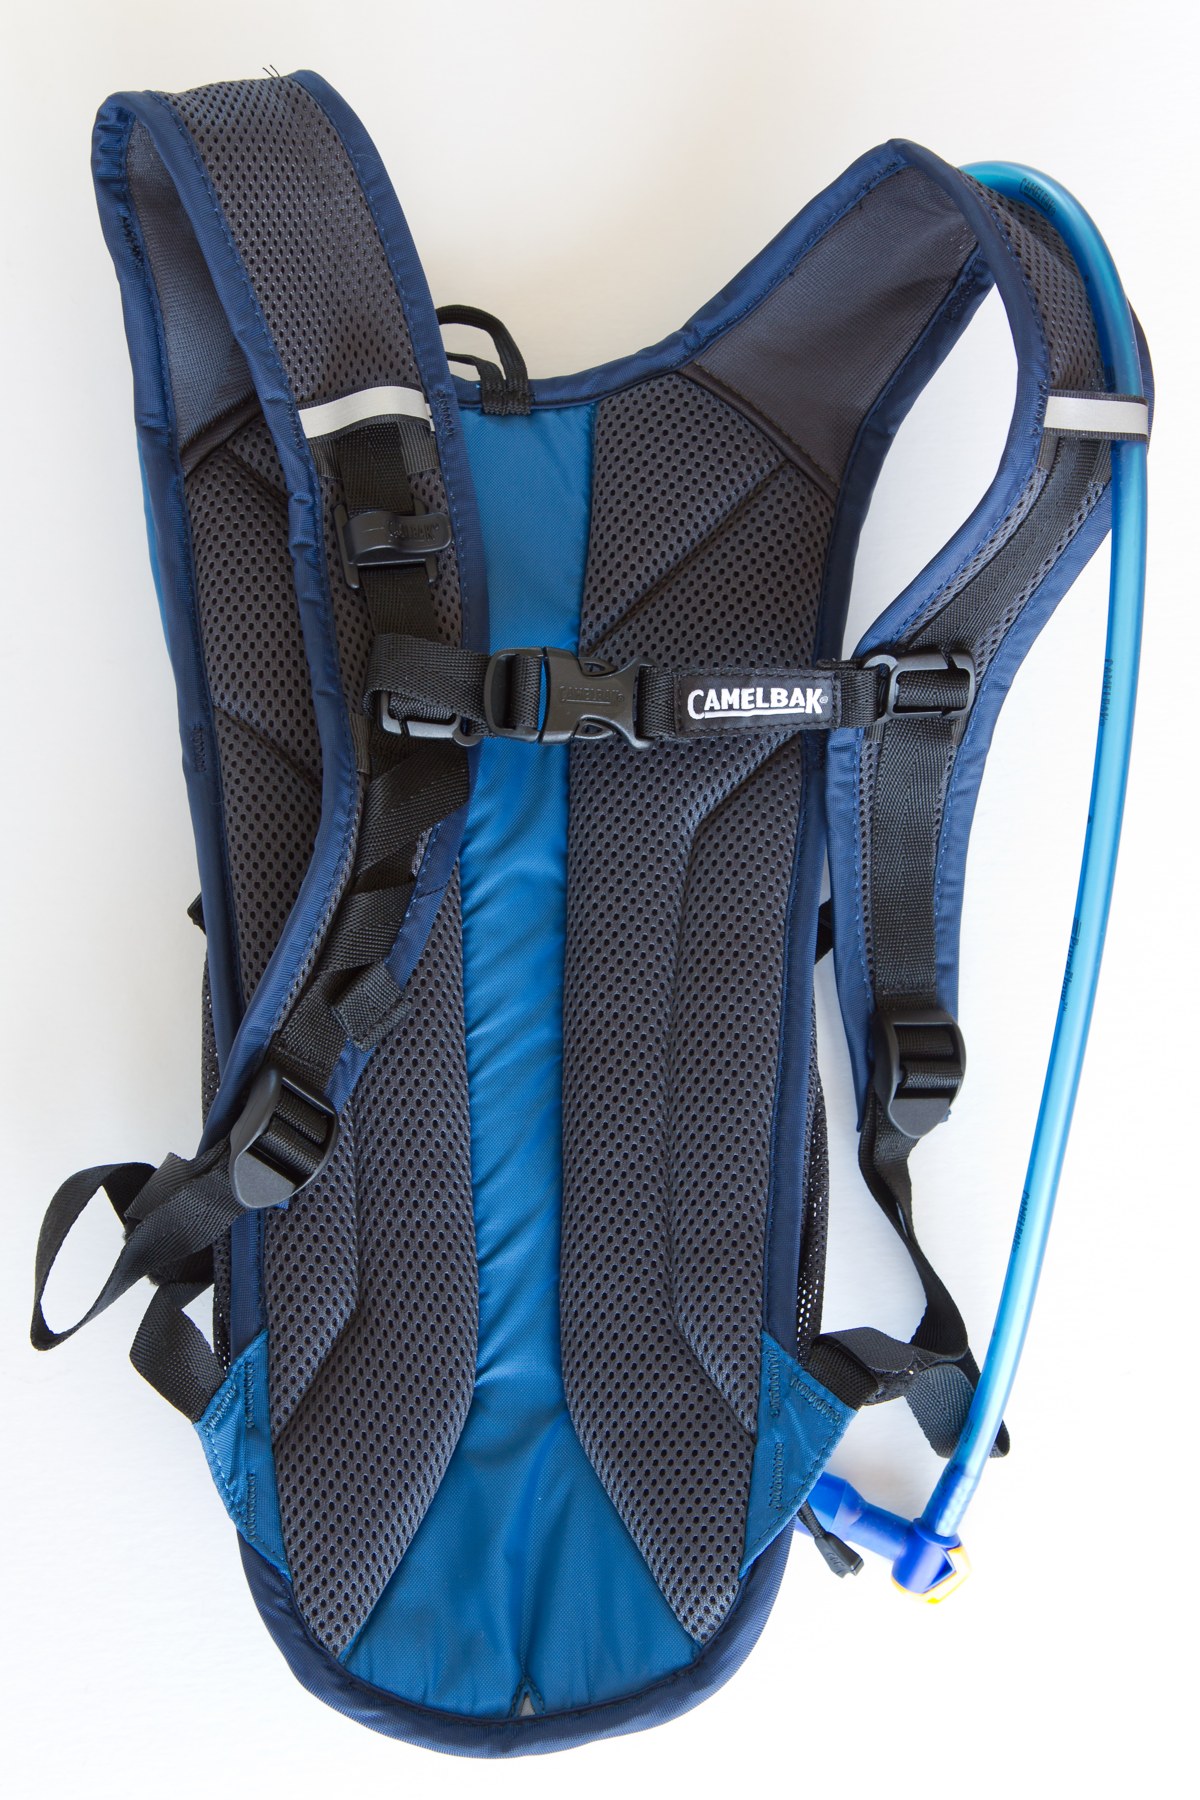
| CamelBak M.U.L.E. 12 Prioritize a 3 L reservoir | Marketed as 12 L; confirm usable dry storage for the exact version[5] | 3 L Crux reservoir on style 2654[2] | Removable waist strap and 3D Vent Mesh harness; try it loaded[3] |
| EVOC RIDE 12 + HYDRATION BLADDER 2 Everyday riding with organized tool storage | 12 L stated volume; no separate dry-cargo figure on the checked page[4] | 2 L bladder in this named bundle; compartment accepts up to 3 L[4] | Wide hip wings; make sure the bladder bundle is what you order[4] |
Do not add the pack-volume and reservoir numbers together and call the result usable storage. The checked pages do not provide a consistent, separately measured dry-cargo figure across these packs. Pack your actual kit alongside a full reservoir; that is a more useful comparison than treating the volume labels as interchangeable.
Osprey Raptor 14: start here for tool organization
Osprey’s S25 Raptor 14 feature list specifies a 2.5 L Hydraulics LT reservoir, a separate compartment with a removable tool roll, zippered hipbelt pockets and direct zip access to the hydration sleeve.[1] However, the same page’s “Reservoir included” summary says 1.5 L.[1] The tool organization is a reason to consider the pack, but confirm the reservoir supplied with the exact offer before buying.
The manufacturer identifies it as a men’s-fit, one-size pack with a bike-specific winged shoulder harness and wrap hipbelt.[1] That describes the design, not a guarantee of stability on your back. Bend into your riding position with the reservoir full: the shoulder straps should not pinch, and you should still be able to turn your head with a helmet on.
Choose it if the tool roll and hipbelt pockets solve a real packing problem. Confirm the included reservoir capacity with the seller, then decide whether bottles or another carry option need to cover the rest of your water plan.
Skip it if the loaded harness does not fit or the seller cannot confirm the exact generation and included reservoir. Try another fit rather than compensating by overtightening the straps.
View Osprey Raptor 14 S25 specifications. Check the model generation and included reservoir against the manufacturer specification. Check price at Competitive Cyclist; its listing specifies an Osprey Hydraulics LT 2.5 L reservoir.
CamelBak M.U.L.E. 12: prioritize water capacity
The M.U.L.E. 12 style 2654 includes a 3 L Crux reservoir on the checked CamelBak listing.[2] The US product page also lists a removable waist strap, Magnetic Tube Trap, stretch overflow pocket and integrated tool-carry pockets.[3] This is a useful combination if your planned route calls for that water capacity without a large expedition-style pack.
The 12 L label should not be read as 12 L of empty clothing space plus a full reservoir. CamelBak’s current regional pages vary in how much storage detail they show, so confirm the dry-storage specification on the actual version you buy.[2][5] Fit is equally important: test the waist strap and harness with water and layers rather than assuming it will feel like a different pack with a similar volume number.
CamelBak’s matching style-2654 NZ listing specifies a 3 L Crux reservoir, while its US listing identifies CB-2654.[2][3] Skip it if that capacity is unnecessary or the loaded fit is wrong. Confirm the actual regional offer rather than assuming every product with M.U.L.E. in its name is interchangeable.
View CamelBak M.U.L.E. 12 details. Check that the result is the hydration backpack, not another M.U.L.E. bag or a reservoir-only accessory.
EVOC RIDE 12 bundle: a simpler everyday option
EVOC lists 12 L of pack volume, wide hip wings, AIR PAD back padding, an internal tool compartment and a helmet transport flap. The product specifically named “RIDE 12 + HYDRATION BLADDER 2” includes the 2 L bladder; the reservoir compartment accepts up to 3 L.[4] Compatibility with a larger reservoir does not mean that larger reservoir comes in the box.
Consider it for rides where your kit fits comfortably beside 2 L of water, or where bottles and reliable refills complete your water plan. The plain RIDE 12 and the bladder bundle are not interchangeable purchases. This recommendation is for the named bundle, not the old FR Trail protector pack.
Compare the actual pack-and-bladder contents of any bundle you consider.[4] A plain RIDE 12 listing is not proof that the same bladder comes with it.
Check the RIDE 12 with 2 L bladder at Competitive Cyclist.
Fit matters more than the volume ranking
Bring your usual layers, tools and food to the fit check. Load the water you expect to carry. Adjust the hipbelt and shoulder straps, then lean forward as you would on the bike. Check for pressure at the neck, a belt that rides up, a pack that shifts sideways, and a hose that catches when you turn your head. A short unloaded try-on can miss all of those problems.
Fit labels are a starting point. Do not assume a men’s pack will suit every man or that a one-size pack will suit every torso. If the harness cannot settle comfortably while you are riding, compare another fit or model instead of tightening it until breathing feels restricted.
Plan water and storage separately
No reservoir size guarantees a certain number of riding hours. Plan around heat, effort, refill access and what you know about your own drinking needs on similar rides. Do not rely on a fixed altitude percentage or assume a mapped stream will be usable. Carry a backup plan for delays and check refill access before a remote ride.
Then make room for the kit the route demands. A weather layer and repair supplies may matter more than extra pockets. For loaded trips, compare carrying suitable items on the bike rather than automatically moving up to a much larger backpack. Follow the pack and reservoir maker’s cleaning and drying instructions after use.
The shortlist
Choose the carry system first, then the pack. Use the comparison above to identify the feature you need, confirm the exact reservoir and regional offer, and make the final decision with your real load. If bottles and on-bike storage already solve the problem, there is no reason to buy a hydration pack.
Sources
[2] CamelBak M.U.L.E. 12, style 2654 (NZ)
[4] EVOC RIDE 12 + HYDRATION BLADDER 2
[5] CamelBak M.U.L.E. 12 L with 3 L reservoir (UK)
[6] Osprey Savu 2, single-or-double-bottle layout
